Ultimate Guide to Paint Correction: Restore Your Gloss the Right Way
A flawless finish looks effortless, but it rarely is. Paint correction demands controlled abrasion, a plan tailored to the car’s paint system, and a light touch where the clear coat runs thin. Done well, it brings back clarity and depth without burning away precious microns of protection. Done poorly, it locks in haze, compounds defects, and shortens the life of the clear coat. This guide walks through the real work behind restorations that last, including when to cut, when to refine, and when to protect rather than chase another half percent of gloss.
What paint correction actually fixes
Paint correction removes or reduces defects that live in the clear coat. The most common are wash-induced swirls, random deep scratches, water-spot etching, and oxidation. All show up because light scatters off uneven or damaged surfaces. When you level those peaks and valleys through controlled polishing, reflections sharpen and the color pops. This is not about hiding defects under glaze. It is material removal at a microscopic scale.
There are limits. If a scratch catches your fingernail, it likely reaches too deep to polish out fully. If you see crow’s feet cracking or solvent pop from a failed respray, polishing will only highlight the problem. Bird dropping etching can be corrected if it is shallow, but severe etching often requires local sanding or even repaint. Honest evaluation comes first, because correction is subtractive. Every pass takes a little clear coat you will never get back.
How defects happen in the first place
Most swirls start at the wash. Dirty wash mitts, circular scrubbing with dry towels, and quick drive-through brushes create uniform, shallow marring. Other defects tell stories. Straight-line scratches down a door can trace to a winter coat zipper. Uniform haze on a horizontal panel suggests frequent automatic washes. Deep, random scratches may come from snow brooms or brushing off pollen with a dry rag. Water spots form when minerals bake into the clear in sun. Oxidation dulls single-stage paints and neglected clear coats alike, especially on horizontal surfaces.
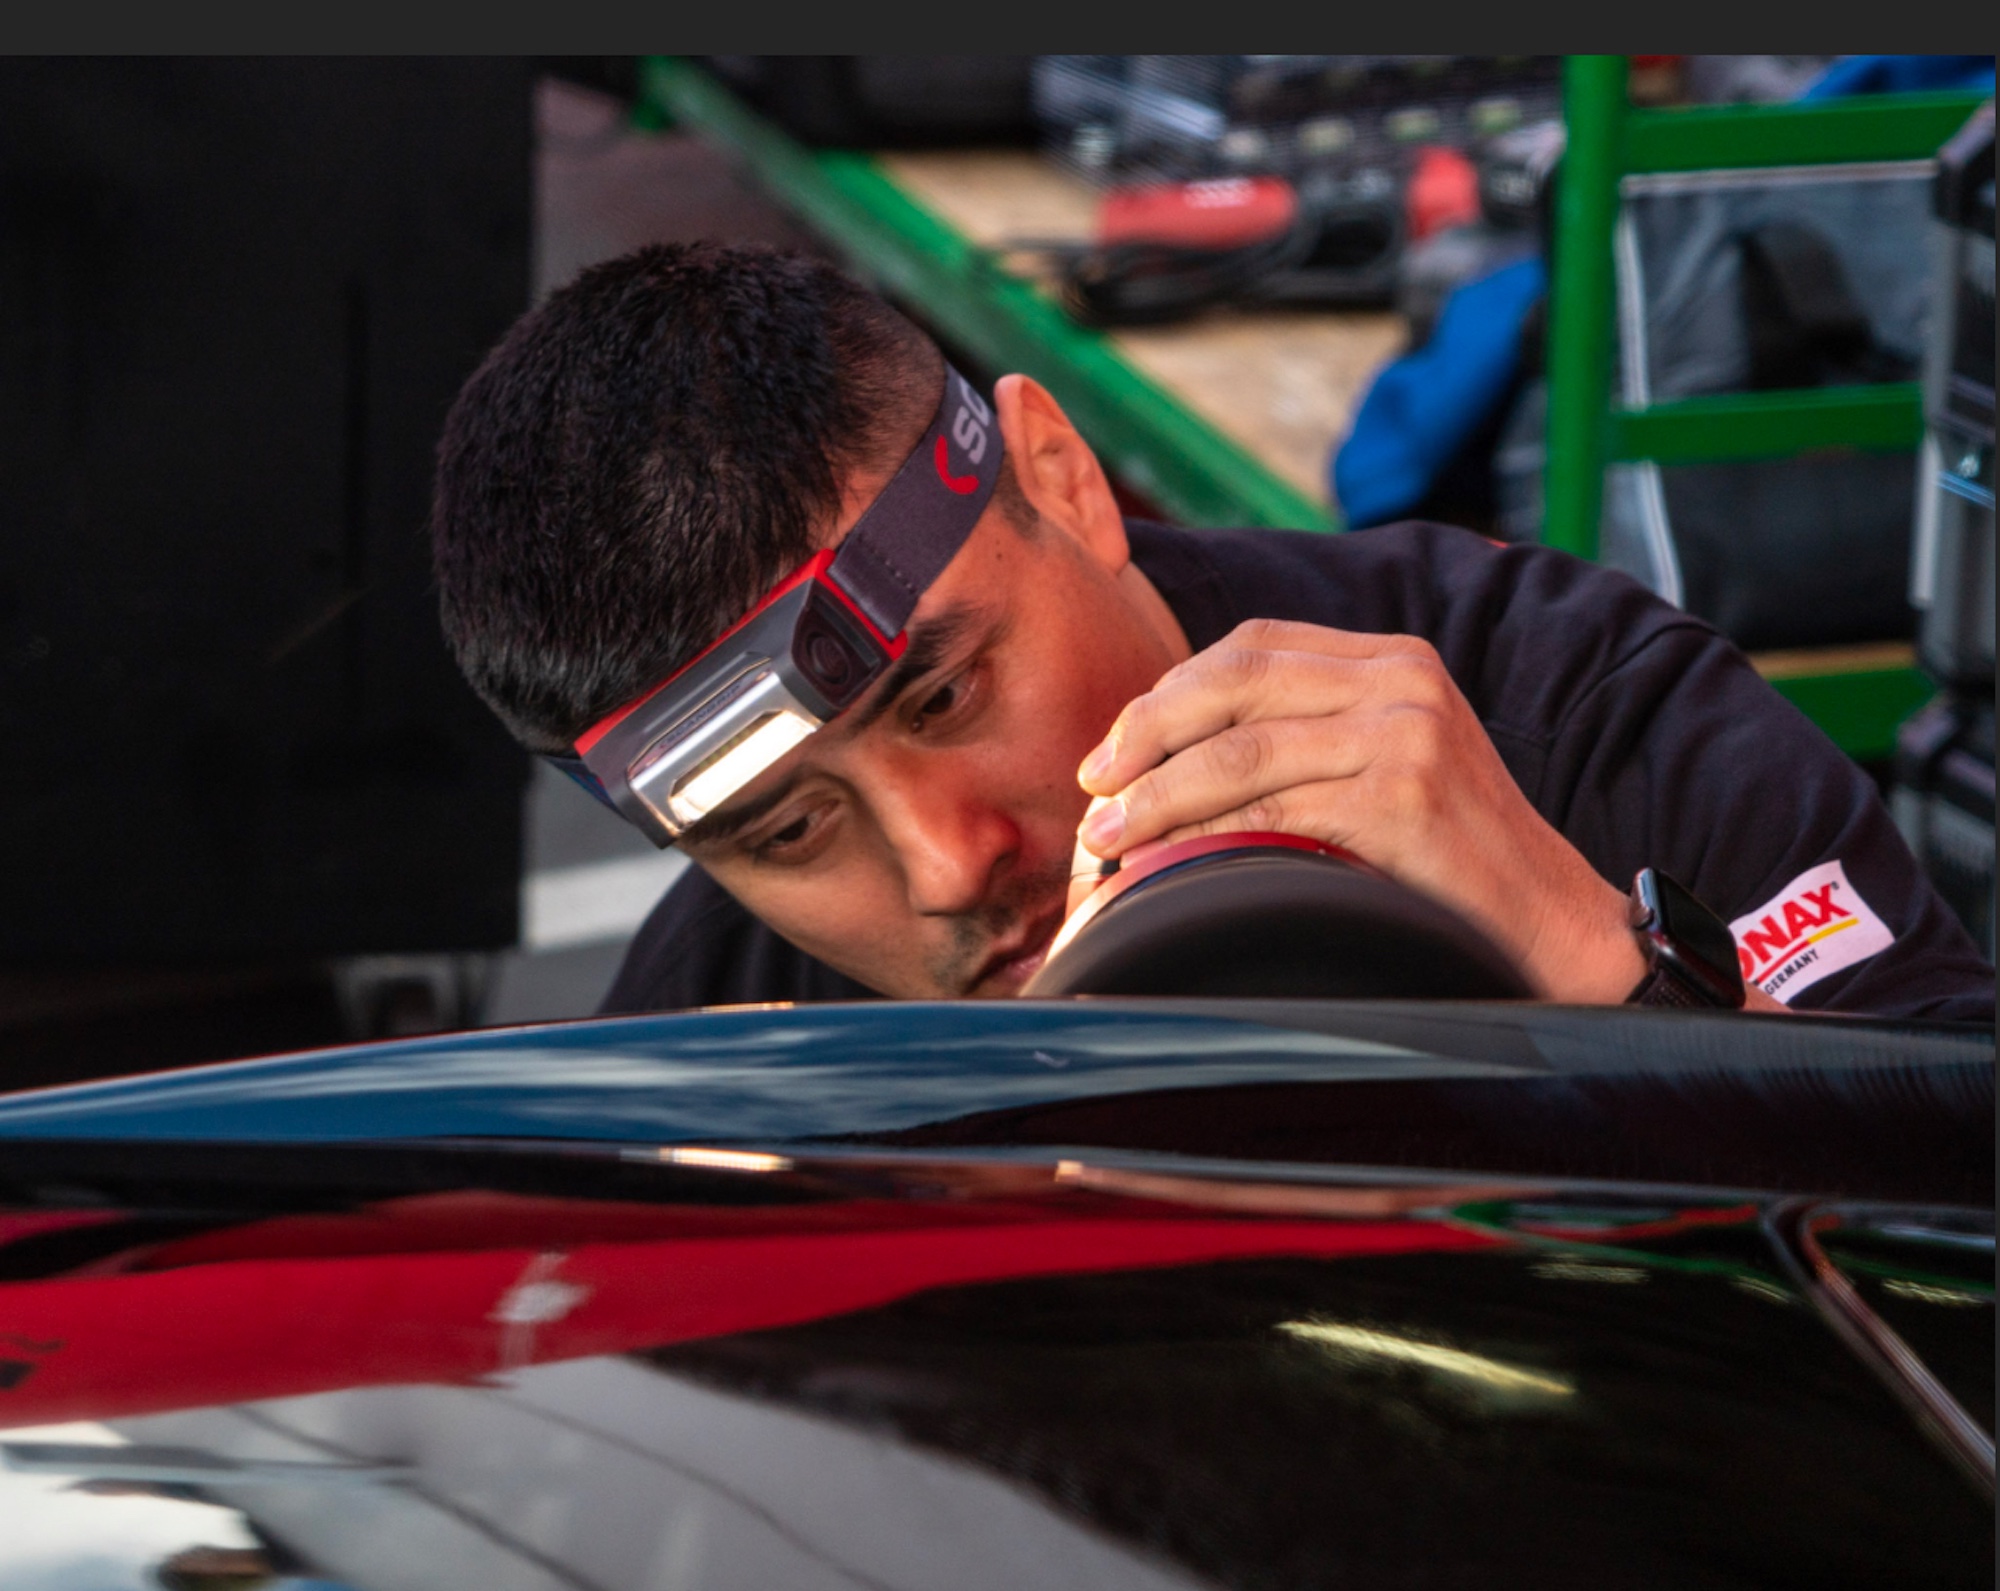
Understanding origin guides correction. A car with soft Japanese clear may show swirls easily but finish with a mild polish. German clear often needs a firmer pad and more cut to move defects. Some American trucks get hard, resilient clear that tolerates heavier compounding, yet they carry deep factory orange peel that you should not try to erase on a daily driver. Correcting the right problem with the right approach matters more than chasing a number on a gloss meter.
Tools and materials that do the real work
Dual action polishers dominate modern correction because they cut efficiently while minimizing the risk of holograms. Rotary polishers still have a place for sanding mark removal and tight edge work in trained hands, but they leave less room for error. A 5 to 6 inch backing plate with mixed pad sizes allows you to reach contours and pillars without rolling edges.
Pad choice is its own craft. Foam pads range from heavy cut to finishing. Microfiber pads bite hard on tough clear and respond well to short, controlled arm speed. Wool can rip through oxidation and sanding marks quickly, though it needs a solid refinement step to clear micro-marring. The compound matters too. Non-diminishing abrasives hold their cut for longer cycles and consistent correction. Diminishing abrasives start strong then finish lighter as they break down. Solvent base, work time, and wipe-off behavior all affect efficiency. There is no single magic liquid. Pairing paint, pad, and product wins.
Lighting separates decent from excellent. Handheld LEDs in the 5000 to 6500 K range show holograms and haze. Warmer lights show depth and last-stage consistency. Panel wipe reveals what remains after oils flash off. A paint depth gauge tells you whether you have margin. Factory paint often measures 100 to 180 microns total thickness. The clear coat portion varies, often 40 to 100 microns. Removing even 5 to 10 microns during a heavy two-step is significant, especially on edges where the clear runs thin.
The Os Pro Auto Detailing approach to assessment
Before any pad touches paint, a thorough inspection sets the boundaries. At Os Pro Auto Detailing, the initial walkaround includes paint depth checks on each panel, edge readings on high-risk areas like fender peaks, and a defect map. We look for respray telltales, like texture that does not match adjacent panels or thicker total readings that suddenly taper off near a door edge. We mark previous touch-ups and note plastic versus metal panels, since depth gauges read differently on each.
The wash and decontamination phase is part of the evaluation. After a thorough rinse and contact wash with a gentle shampoo, we clay only if bonded contaminants persist, because clay itself can induce marring on softer clears. On vehicles with sensitive paint, we will decon using iron removers first, then re-evaluate whether a light clay is still necessary. The goal is a clean, uniform surface that reveals the true condition, not extra defects created in prep.
A case vignette from Os Pro Auto Detailing
A late-model black sedan arrived with heavy swirls and moderate water-spot etching on the roof and hood. The owner believed a one-step would do. Readings ranged from 110 to 135 microns on factory panels. The hood averaged 120 microns, healthy enough but not generous. After test spots, a microfiber cutting pad with a medium compound removed roughly 70 to 80 percent of the swirls, but the etching lingered faintly under light. Stepping up to a heavier compound improved the etching yet consumed more clear and began to haze the finish. We opted for targeted spot sanding on the worst etches using 3000 grit discs, then refined with a foam finishing pad and a fine polish. The final look achieved high clarity without pushing the entire hood through an aggressive cycle. The owner left with realistic expectations and a ceramic coating applied to reduce future water damage.
Preparing correctly, the quiet work that saves the finish
Preparation affects results more than people think. Thorough cleaning reduces the need for aggressive steps later. Always start with shade or a cool garage, a pH-balanced shampoo, and separate wash buckets for body and wheels. Blow out emblems and mirrors where dirt hides. Mask matte trim, fresh PPF edges, and rubber seals. On heavily contaminated paint, decontamination should be chemical first, mechanical second. Iron removers and tar removers help avoid excessive claying. If a clay bar or towel is necessary, use plenty of lubrication and gentle pressure, then expect a light polishing step to remove clay marring.
Checklist for safe prep:
- Work cool panels in shade or indoors, avoid hot sun.
- Use dedicated mitts and towels, keep them clean.
- Decontaminate chemically before considering clay.
- Mask sensitive edges, PPF seams, and textured plastics.
- Rewash or panel wipe after decon to verify a clean surface.
Mapping a correction plan that fits the car, not the clock
A plan starts with a test spot. Pick a representative area, often the hood or trunk, and try the least aggressive combo that could work. If a finishing foam and light polish lifts the haze and roughly 50 percent of swirls, that is your baseline. If not, step up one variable at a time, either a firmer pad or a stronger compound. Keep arm speed consistent and slow, allow the abrasives to work, and mark your passes. When you hit the desired correction level on the test spot with tolerable trade-offs, translate that system to the rest of the panels, adapting for edges and curves.
Time pressure tempts shortcuts. Skipping refinement may leave haze the customer notices under morning sun. Chasing the last 5 percent of defects, especially on dark colors, can chew clear coat for minimal visual gain outdoors. A disciplined pro weighs the environment in which the car lives, the owner’s tolerance for maintenance, and the thickness you can responsibly remove.
When to sand, and when to walk away
Spot sanding can be a lifesaver for isolated defects that compound passes cannot reach cleanly. Use small discs or blocks, 2000 to 3000 grit, minimal pressure, and tight control. Sanded areas must be fully refined, which adds time and risks texture mismatch if you flatten factory orange peel too much. On modern clear coats, broad sanding to chase orange peel off an entire hood or door is a cosmetic choice that sacrifices a lot of clear. Unless the car is a showpiece with a thick, fresh respray, reserve sanding for isolated defects or severe etching.
Walking away is underrated. If a scratch keeps catching your nail after multiple test passes, taper it and soften its edges. Document it. If solvent pop or clear coat failure shows as milky patches, stop. Polishing only exposes the failure more. In those cases, paint protection film over a healthy adjacent panel or eventually a repaint is the honest path.
The three levels of correction and what they mean
A single-step, done well, can raise gloss dramatically and remove light swirls. Expect 40 to 70 percent defect reduction, depending on paint hardness and pad choice. Two-step work, a cut then a refine, moves you into the 70 to 90 percent range with deeper clarity. Three-step, often involving a heavy compound, an intermediate polish, and a jeweling pass, is for hard paint that needs significant leveling or for darker colors under exacting light. The more steps, the more clear you remove and the more time you invest. On daily drivers, the sweet spot often lands at a high-quality one or two-step, paired with durable protection.
Protecting the finish: ceramic coating, wax, and paint protection film
A corrected finish is naked without protection. The right choice depends on conditions, budget, and tolerance for maintenance.
Comparison at a glance:
- Wax or sealant: quick application, warm glow, lasts weeks to months.
- Ceramic coating: strong chemical resistance, hydrophobic, lasts 2 to 5 years when maintained.
- Paint protection film: physical barrier against rock chips and abrasion, lasts 5 to 10 years.
Ceramic coatings bond to the clear and resist chemical stains and light marring better than wax. They do not make the car scratch-proof, but they buy you more forgiveness at the wash and keep the surface slick. They also amplify the clarity achieved during correction. If your commute includes gravel or construction zones, paint protection film over high-impact zones like the front bumper, hood leading edge, and mirrors is real insurance. Modern films self-heal light swirls with heat, and a ceramic topcoat over PPF simplifies maintenance. A good car detailing service should explain how these layers interact so you do not expect a coating to block rock chips or a film to replace washing.
Os Pro Auto Detailing on maintenance after correction
The first wash after correction and coating tells you whether the plan worked. At Os Pro Auto Detailing, maintenance begins with education. We show owners how to rinse heavy dust before a contact wash, which towels to use, and how to dry without dragging grit. A simple two-bucket wash, a gentle mitt, and forced air for crevices cut most of the risk. For coated vehicles, a pH-neutral shampoo maintains the hydrophobics. For film, avoid harsh solvents near exposed edges. The goal is to preserve clarity for years, not just weeks after pickup.
We also build a light decontamination schedule. In areas with hard water, mineral deposits creep back. A quarterly or biannual decon using iron remover, followed by a light topper for coatings, keeps the surface performing. At the one to two year mark for coatings, a professional decontamination and inspection can spot early issues and restore slickness before neglect gets a foothold.
Working conditions matter, especially with mobile detailing
Control over environment makes a difference. Correction in direct sunlight or on hot panels shortens product work time and increases dusting. In a shop, dust control, stable temperature, and even lighting improve consistency. Mobile detailing can still deliver excellent correction, but it requires pop-up shade, panel temperature checks, and a backup plan for wind and dust. On blustery days, light compounding under a canopy with careful panel wiping is possible, yet heavy multi-step correction outdoors invites frustration. A candid conversation about what level is realistic outside a controlled bay helps avoid disappointment.
Edges, contours, and repaints, the fine print that prevents damage
Edges carry less clear because they get more sanding and buffing in the factory, and they are easy to burn because pad pressure and rotation concentrate there. If you hear pitch change as a pad rides a ridge, back off. Use tape on sharp creases, pillars, and around badges. On tight pillars and bumpers, a smaller pad or hand polishing with finger pads gives control.
Repaints vary wildly. Some are thick and soft, prone to quick correction and quick haze. Others are thin and brittle. A paint depth gauge helps, but texture and solvent smell during polishing can also tip you off. If a panel reads 250 microns while its neighbors read 130, slow down. A more conservative cycle and gentler pad saves drama. If you uncover color transfer on your pad when working a supposedly clear-coated panel, you have hit single-stage paint. That needs different expectations and frequent pad cleaning to avoid dragging oxidized pigment across the surface.
Integrating services without diluting the craft
Many owners ask how correction fits with a broader car detailing service. Done right, correction anchors a service suite rather than getting lost in it. Interior work does not interfere with polishing if you manage dust and airflow. Wheel coating can happen while a compound cures. Window tinting service pairs well with paint correction on multi-day projects, since tint needs clean, stable conditions and can be scheduled while coatings cure. Protection choices should be sequenced logically, film first on panels that get PPF, then correction on the exposed paint, then coating across both paint and film for uniform maintenance.
Time, cost, and honest expectations
A thorough single-step on a midsize ppf sedan can take 5 to 8 hours depending on condition, including wash, decon, test spots, and protection. Add wheels, jambs, and trim revival, and the day fills quickly. A two-step stretches into the 10 to 16 hour range, easily a two-day job when you add ceramic coating cure windows. Large SUVs with complex trim and varied panel shapes multiply the effort. None of this is padding time sheets. Good results resist shortcuts because you are balancing material removal with a finish you would stake your name on.
Costs follow time and risk. Heavily neglected paint with deep defects either costs more to correct or gets a smarter, lighter approach that raises gloss without chasing every scar. If a quote seems low for the promised result, something in the process is being skipped, often inspection, refinement, or protection.
The science underneath the shine
Modern clear coats are polyurethane systems designed for UV resistance, chemical durability, and a particular texture from the factory. That orange peel is not an accident. It hides small manufacturing flaws and improves stone-chip resistance by dispersing impact energy. Heavy leveling to flatten peel can look spectacular under show lights, but it removes protective thickness. Abrasives in compounds and polishes cut these surfaces by fracturing at the microscopic level or by presenting uniform, hard particles that maintain cut as you work. Heat softens paint, which can speed leveling on some clears and induce haze on others. Control temperature by keeping pads clean and reducing cycle length when panels feel warm to the touch.
Micro-marring, holograms, and haze all stem from uneven abrasion and residue. That is why a clean pad and an appropriate primer or polish, plus slow, steady motions, are so important. If you see trails under a cold LED but not under warm shop lighting, adjust your finish cycle. Jeweling on a soft foam with a finishing polish can create a crisp, high-contrast reflection that holds up outdoors.
Aftercare that actually fits real life
Not everyone will foam wash every weekend. If you drive through pollen and rain, then park under trees, pick a durable protectant that forgives imperfect habits. A ceramic coating paired with a gentle wash routine keeps most daily drivers looking sharp. If you frequently cruise highways behind gravel trucks, paint protection film on the front end stops chips that no liquid can prevent. If your commute is gentle and you enjoy hand waxing, a premium sealant twice a year might be enough. The trick is aligning products with behavior, then sticking to a rhythm.
If you use touchless washes in winter to knock off salt, follow with a rinseless wash at home with plenty of lubrication. Dry with a plush towel and light pressure, or use forced air to avoid dragging grit. Never use household glass cleaner with ammonia on tinted windows. If you have a fresh tint from a window tinting service, treat edges gently for the first week while adhesives cure and avoid rolling windows down if told so by the installer.
Why some cars finish better than others
Two cars, both black, rarely finish the same. Paint chemistry shifts by make, model, and year. Some Japanese compact cars have soft, sticky clear that clogs pads fast. German sedans often have hard clears that need microfiber or wool to make headway, then a careful refinement to clear haze. American trucks sometimes carry resilient clear with pronounced peel. If you are correcting at home, expect a different pad and product to work on your daily driver than the one you used on a friend’s coupe. The best professionals keep an array of pads and compounds and choose by test spot, not habit.
Humidity, dust, and temperature all change wipe-off and cure behavior. A compound that behaves perfectly at 68 degrees with 40 percent humidity can dust and stick at 85 degrees with 70 percent humidity. Adjust work time, pad priming, and wipe technique. If a residue fights removal, switch to a compatible panel wipe or allow a short flash time before wiping. Small adjustments add up to big differences in clarity.
When Os Pro Auto Detailing recommends protection over more cutting
There are times when chasing perfection on thin paint is a bad trade. If readings sit in the 80 to 90 micron range with thin edges, the safety net is small. At Os Pro Auto Detailing, we document those numbers, deliver a careful one-step, and steer clients toward a ceramic coating to lock in the gains. On highway commuters, we often layer paint protection film on impact zones, then coat the remaining paint. The result looks sharp, resists chips, and keeps maintenance straightforward without risking the clear unnecessarily.
We have also declined third-round corrections on cars that had already seen heavy rotary work in the past. The right move was spot repair at a body shop or living with a softened scratch that, under most lighting, barely showed. That type of judgment protects the car’s future value as much as its present look.
A practical path if you want to tackle light correction yourself
Not every project needs shop-level tooling. If you are addressing light swirls on a newer car, a quality dual action polisher, a finishing foam pad, and a mild polish can raise gloss safely. Work small sections, two to three slow passes, wipe residue, inspect under multiple lights, and stop if you see improvement. If defects remain, step up one notch with a polishing foam and a medium polish. Keep pads clean, swap them as they load, and avoid edges. Afterward, add protection that fits your habits. If at any point you see strange texture, unusual heat, or color transfer, pause and reassess. There is no shame in calling a professional when the signs point to risk.
Final thoughts that respect the paint
Correction is not about owning the strongest compound or the latest machine. It is about control, restraint, and knowing when you have reached the point of diminishing returns. Pair the right technique with a protection strategy that matches how the car lives. If you treat it as a system, not a stunt, the finish will hold a deep, crisp reflection for years, and you will spend more time driving than fretting over swirl marks.
By treating paint as a finite resource and using tools thoughtfully, you can restore gloss the right way. Whether you work in a fully equipped shop or manage conditions with mobile detailing gear, the principles stay the same. Respect the material, document your choices, and build protection into the plan from the start.
Os Pro Auto Detailing
12748 NE Bel Red Rd, Bellevue, WA 98005
(206) 825-2040
FAQs
How long does ceramic coating last?
Ceramic coating typically lasts between 2 to 5 years, depending on the product used, vehicle condition, and how well the coating is maintained.
What is included in paint correction?
Paint correction involves removing surface imperfections such as swirl marks, light scratches, and oxidation through polishing. This process restores clarity and enhances the overall gloss of your vehicle’s paint.
Is ceramic coating worth it?
Yes, ceramic coating provides long-term protection against UV rays, contaminants, and environmental damage. It also makes cleaning easier and helps maintain your vehicle’s appearance over time.